
The Art of Pour Over Coffee: A Brew Lover’s Guide
Mastering the Art of Coffee for Pour Over: A Brew Lover’s Guide Finding the right coffee for pour over begins with flavor. Whether you’re a
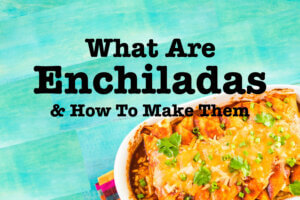
What are Enchiladas and How To Make Them
Enchiladas a culinary gem hailing from Mexico have transformed over centuries into a beloved modern delicacy. This article will give you an in-depth exploration of

Easy Korean Corn Dog Recipe: Crispy, Cheesy Perfection at Home
Want to recreate the Korean Corn Dog magic in your kitchen? You’re in the right place. We’re serving up a straightforward Korean Corn Dog recipe
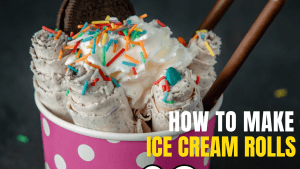
How to Make Ice Cream Rolls
We can all agree that ice cream rolls are one of the best treats. However, it isn’t shocking that a significant portion of ice cream

Easy Guide on How to Make Cake Pops: Deliciously Perfect Every Time!
If you’re seeking how to make cake pops that are both delectable and decorative, look no further. This guide cuts right to the chase, offering

The Best Espresso Machines For Under $300 in 2024 – Let The Battle Begin
View on Amazon Are you a coffee lover who just can’t make it through the day without a freshly brewed cup of coffee? Have you